Become A Certified Installer

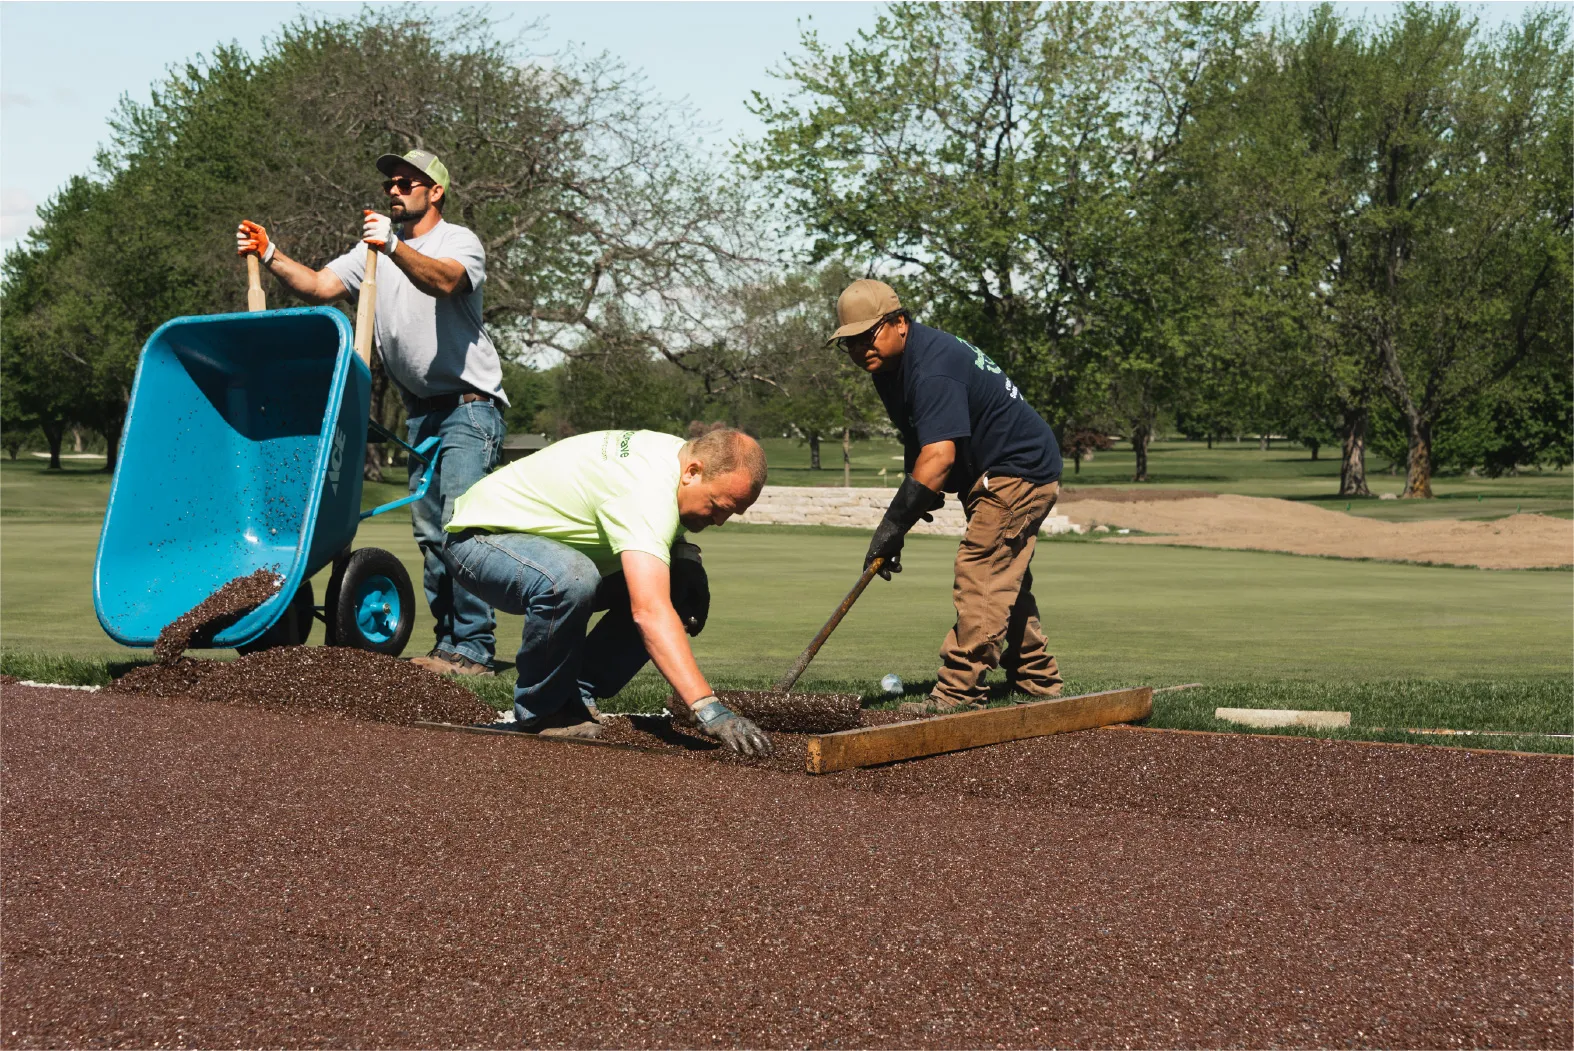
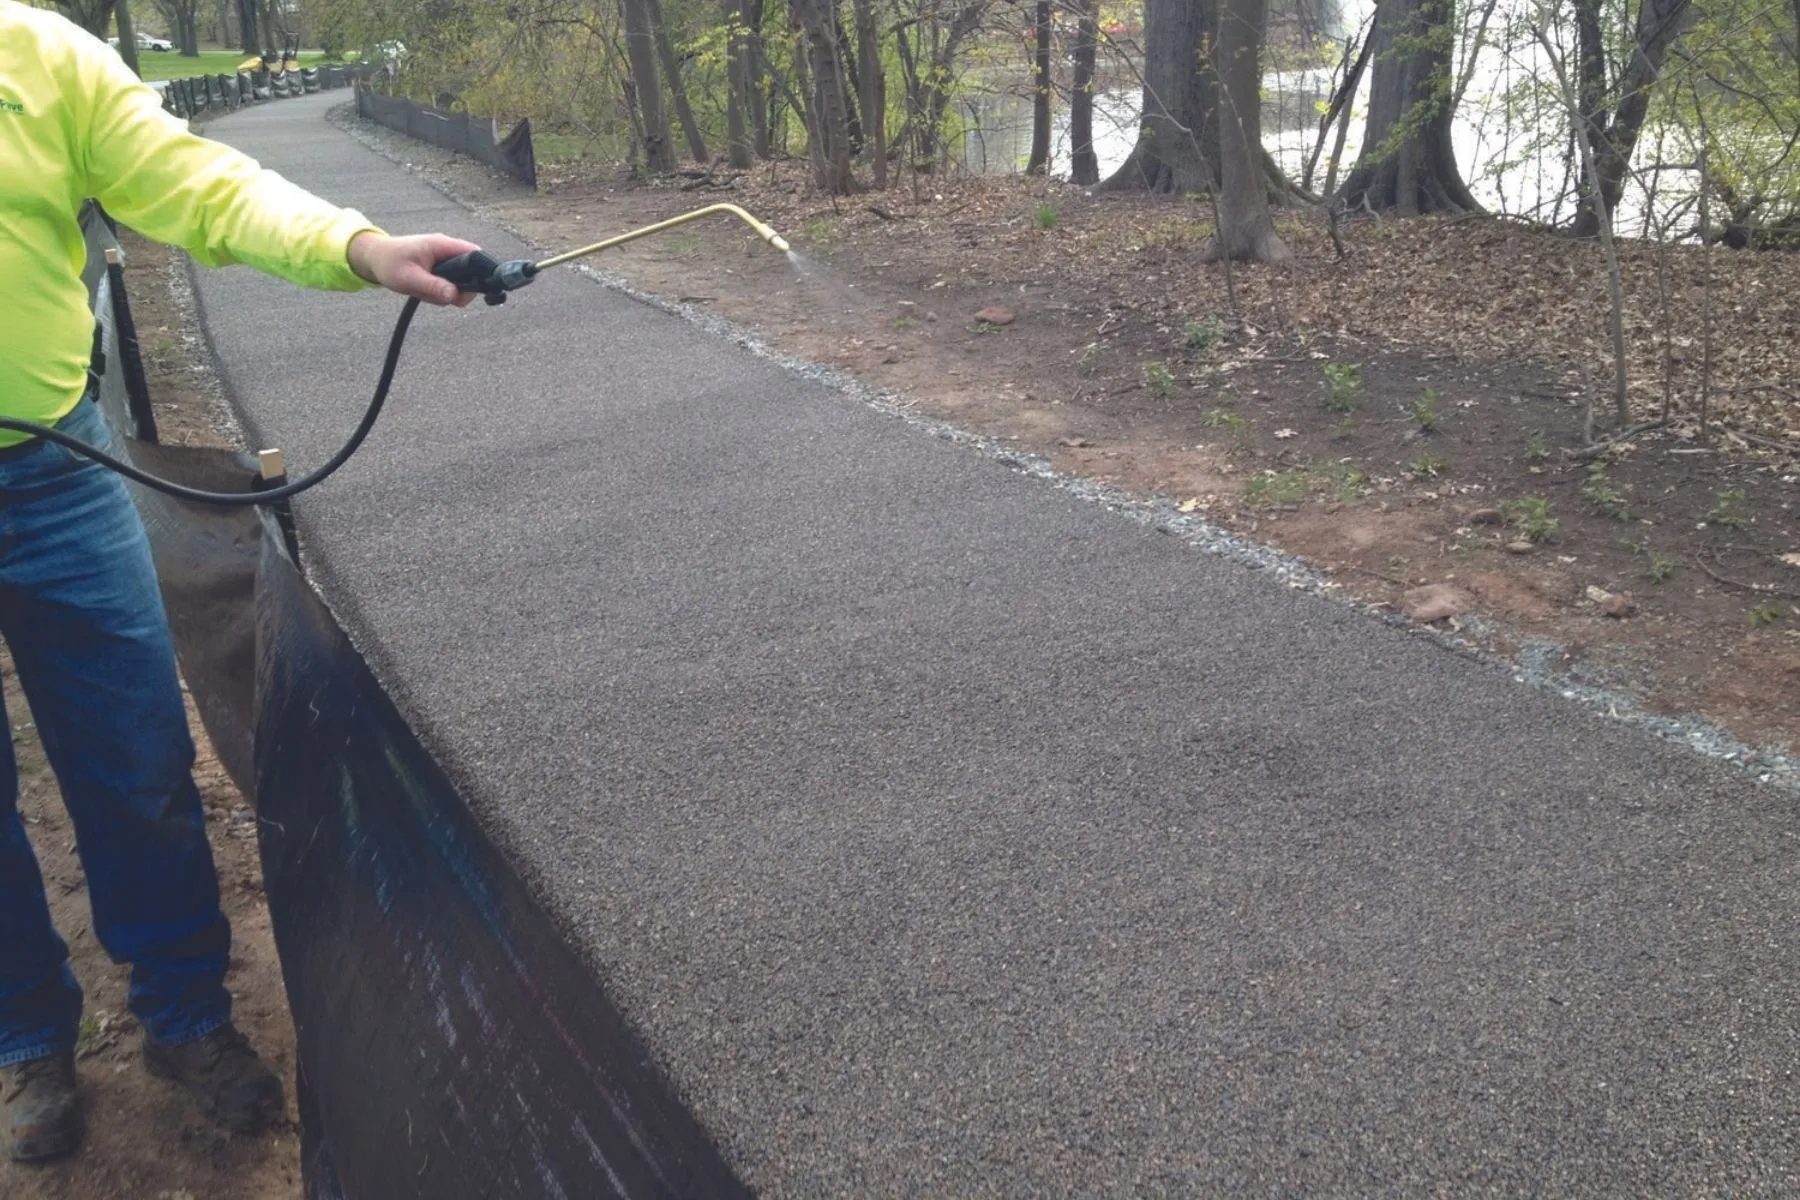
With more than six million square feet installed since 2006, Porous Pave offers proven performance. Its versatility is unmatched by other permeable paving materials. It is easy to install. You mix Porous Pave on site and pour it in place without extensive excavation or sub-grade preparation.

Installation Overview

Porous pave with tractor
1. Mix Product
Mix components in a mortar mixer. Transfer mixture to a wheel barrow or other means of transferring to the pour site.
Porous pave being installed
2. Spread
Use a come-along to pull all excess material away from the screed board. Fine tuning by hand using a trowel.
Porous pave being installed
3. Finish
Put the finishing touches on with a bull float to give Porous Pave a smooth glossy finish that shines.
Contractor laying porous pave and smoothing it out with a wood board
4. Edging
Create a rounded finish along the edge of the product by using the form board or by using a hand trowel
pathway being misted
5. Mist
Mist the surface of the Porous Pave lightly with water to activate the binder. This helps the product set in place.
Porous pave being laid
6. Dry
Let the quick drying magic happen. Porous Pave is dry enough in most applications within 24 hours.

Get Specific Installation Information

Porous Pave installation tools list including mortar mixer, wheelbarrow, shovels, come-alongs, hand trowels, bull float, gloves, buckets, tarp, form boards, screed board, garden sprayers, putty scrapers, and brushes, with optional tools such as concrete saw and blower.

Installation Tools

Including Pre-Installation Check List and tool list depending on installation
Download PDF
Porous Pave installation steps showing mixing and pouring process with images of workers handling materials and screeding material on a surface.

Installation Notes

Steps for installation with details, as well as clean up information.
Download PDF
Informational sheet on Porous Pave base preparation showing a cross-section diagram of the paving layers and two photos of aggregate base materials and installed base.

Base Specification

Measurements as well as material specification. Also includes thickness details.
Download PDF
Porous Pave XL material coverage and mixing guide detailing mixing ratios, coverage per bag thickness, and calculation examples for rubber, stone, and binder quantities.

Material Coverage

Details on amount of material for ideal coverage.
Download PDF
Porous Pave installation tips with numbered steps on binder curing, misting, mixing times, avoiding rain, and using Palmolive soap, including a photo of a porous paved pathway between stone borders.

Installation Tips

Helpful and important details on the installation process as well as best practices.
Download PDF
Technical bulletin from Porous Pave explaining ambering, a color change caused by UV rays, with images of gray porous paving material before and after ambering.

Ambering

Details on Porous Pave color change due to binder and solutions.
Download PDF
XL Materials Calculator from Porous Pave to determine materials needed for a project by entering square footage, with input highlighted in yellow and calculated materials in green.

Material Calculator

Simple Excel sheet for calculating materials meant to be used only by installers
Download PDF
Porous pave being installed
78 Applications
Company
Backyard Oasis
Location
Lansing, Michgian
57,000
Total Square Feet

Backyard Oasis

Get in Touch With Us